Note: the face in the background is not attached to the tail. It is a small wall mounted sculpture that I made back in highschool.
|
|
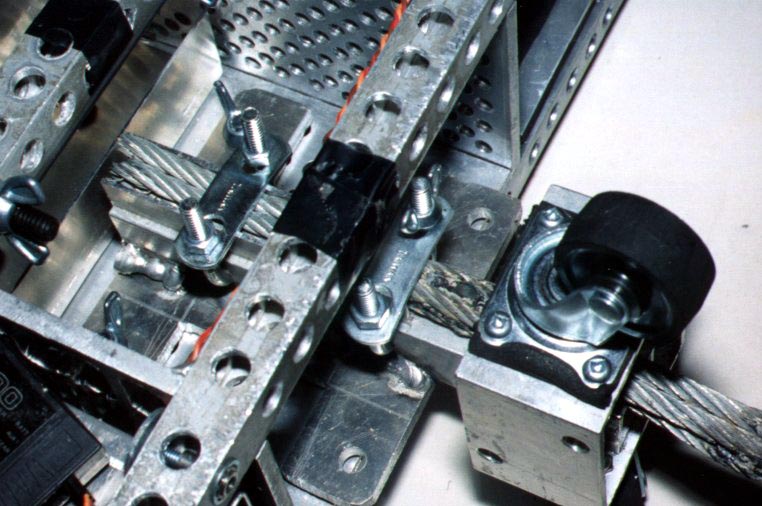
Here is the trailer-hitch being mounted on the frame. You can see where the welders screwed up, as only 1 pair of holes on the mounting plate line up with the mounting holes on the frame. I was pretty mad about this, but I made the best of it by hacking the end off the trailer-hitch and making it fit. I am thinking of somehow attaching the plate down more securely, and I will definitely get this done if Mr Smashy is to see combat. The wing nuts are temporary at this point, and are to be replaced with the correct 3/8" nuts. |
|
|
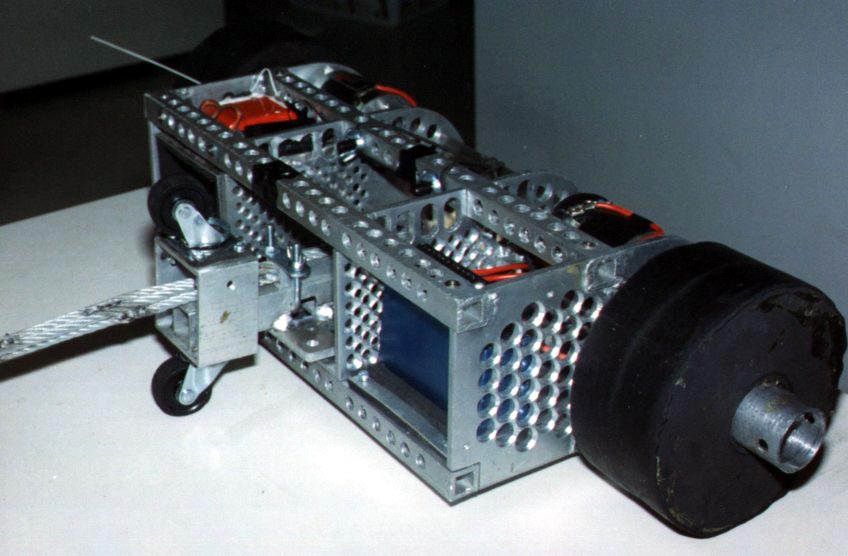
Here you can see Mr Smashy resting on his third wheel. This arrangement works really well, and the caster wheels, being rubber, absorb a lot of shock. |
|
|
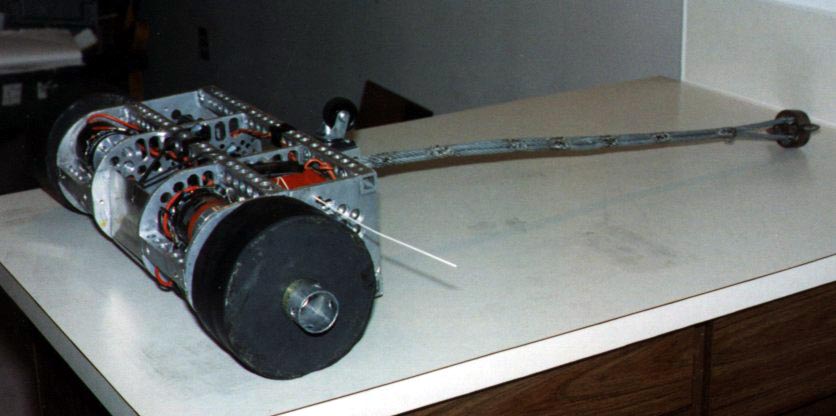
Here is the full view of Mr Smashy minus armour. The spikes on the smashy end of the tail are used when the spinning attack is employed. You have to be careful when spinning Mr Smashy around that you don't accidentally clip your ankles. Ouch! |
|
|
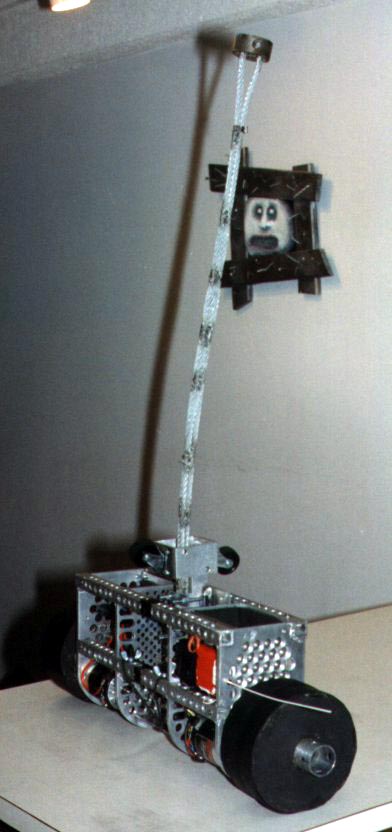
Mr Smashy at 90 degrees. The blunt, non-spiked side of the caster wheel if for the over-hand-robot-smash move that Mr Smashy was built to do. Full forward --> full reverse = flip and smash! This is really cool and scary (watch those feet!), but it is hard to aim. You will see what I mean when we get the video of Mr Smashy in action posted. Note: the face in the background is not attached to the tail. It is a small wall mounted sculpture that I made back in highschool. |