 |
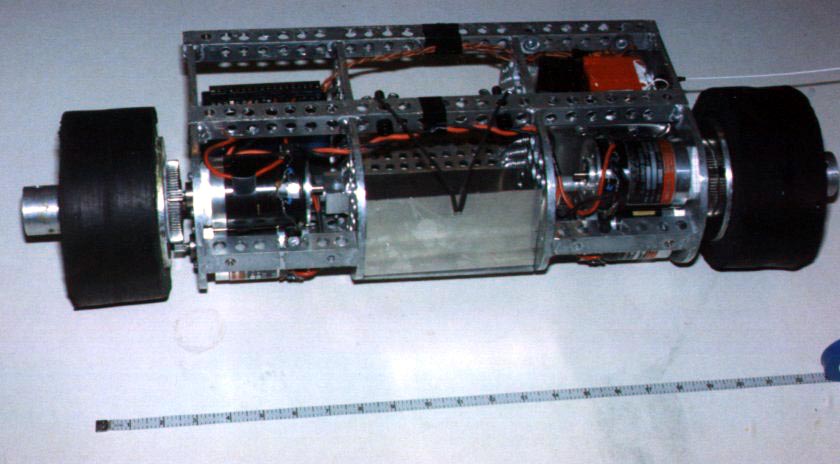
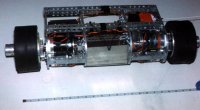
Here is a top down view of Mr Smashy's finished frame and wheels. There is a
Deans Slimline Boat Antenna attached at the
moment, out the side of Mr Smashy's frame. It should really be attached
to a non-conductive surface, but I never got around to building a specific
mount for it. Maybe next year! The box in the middle of the robot is to hold
our BlueStar LiSO2 batteries. The foam tires ended
up wearing down too much, so I capped them with pieces of inner-tube. They
fit perfectly and are held on using contact cement (very messy!).
|
 |
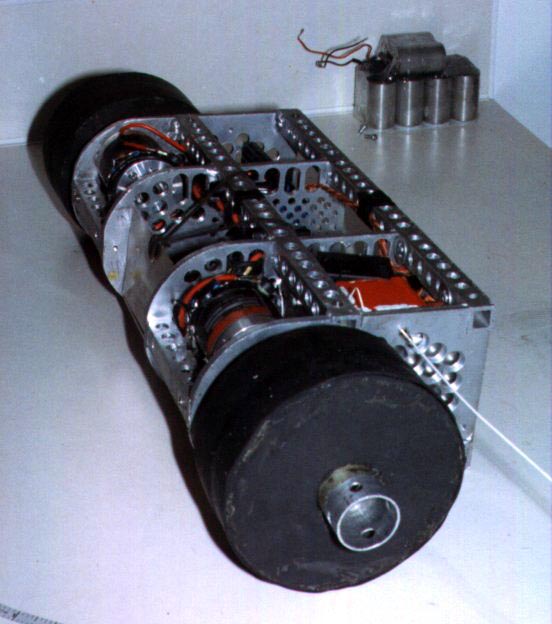
You can see the cap on the tire in this picture (you can also see the excess
contact cement). The wheels are designed to accommodate armour plates
made from hard-drive platters, but these haven't yet been attached, as
they are not really needed until Mr Smashy competes. The aluminum tube
sticking out of the end of the wheel may end up being cut off, as I don't think
it is a good idea to have a leveraging point on the axle so exposed.
|
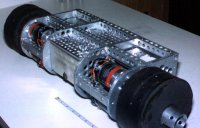 |
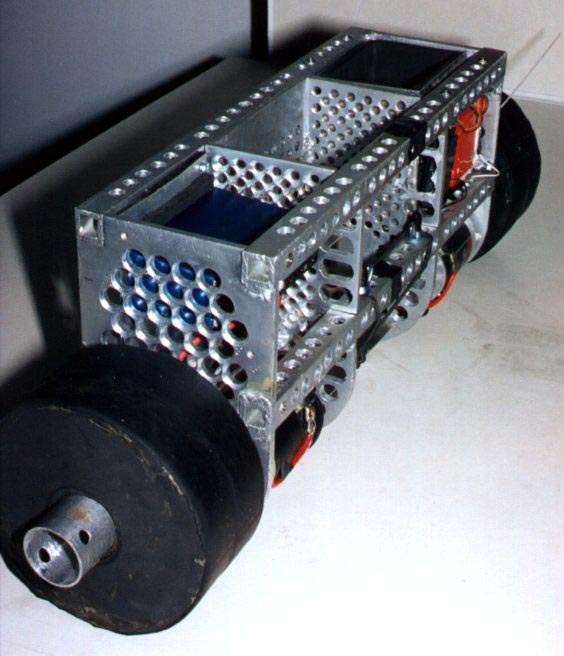
Here is a shot of Mr Smashy upside-down. You can see how the battery
box is attached with wing-nuts. These are there for easy removal and
switching to the Ni-Cad box, which is a different size.
|
 |
Mister Smashy's secret position! Because the drive wheels stick out
past the front of the frame, Mr Smashy can flip over, as demonstrated in
this picture. This was done by design, You know Bob, design?
|
 |
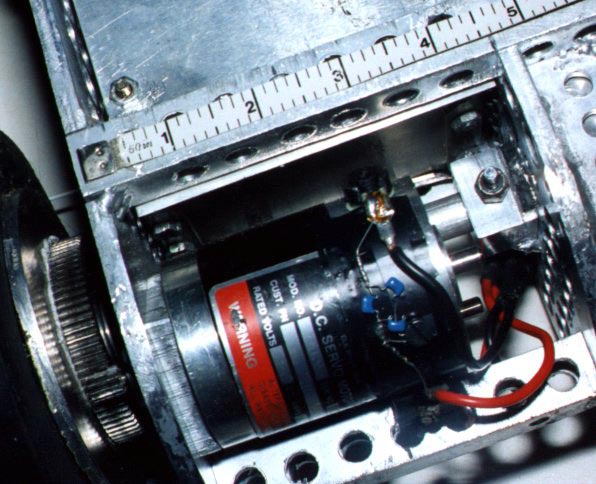
This is where the radio equipment has been mounted (temporarily). The
box underneath the receiver is actually empty space, so it will be removed
if and when Mr Smashy reaches combat. The white gunk on the batteries
is silicone grout, which makes an excellent anti-shock adhesive. You can
also see the gear setup in the photo reasonably clearly. Two motors a side
makes for tricky gear lash settings.
|
 |
Over head shot of the Vantec. It is coupled through two layers of mouse
pad to the frame. You can see clearly the side plate of the wheel to
which the gear is attached. There are 8 4-40 bolts through the hardened
steel gear, into the 3/16" aluminum plate holding it on.
|
 |
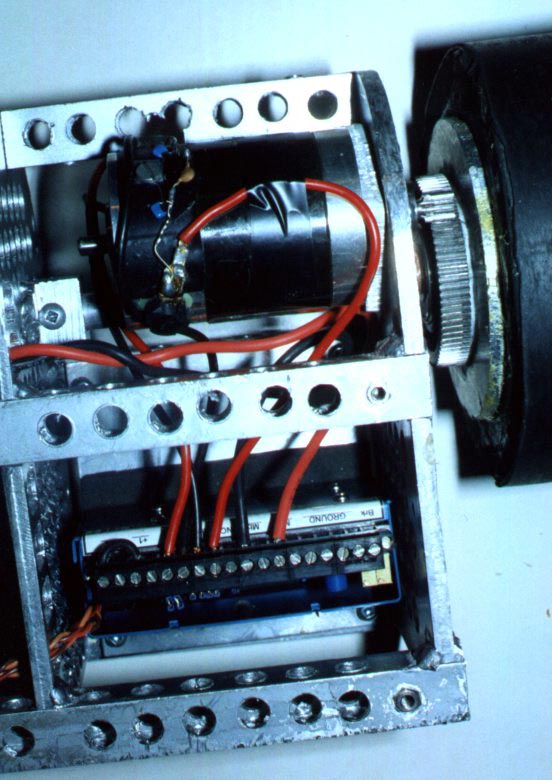
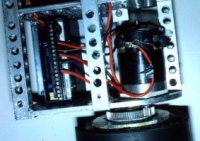
Here is a shot underneath the radio equipment side. You can clearly see
how the axle (made of 1/2" 2024 Al) is bolted into a solid block of
6061 Al which is welded to the inside plate of the frame. It feels
really solid. The ends of the axles are tapped and the wheels are attached
with bolts and washers.
|